Setup your Project
Quickly run through setting up a project using the Aion IntelliJ plugin. This section assumes you have IntelliJ and the Aion plugin installed.
Create a Project
Follow these steps to create a sample project. You can delete the sample classes when the project creation is complete.
- With IntelliJ open, go to File → New → Project or click Create New Project from the splash screen.
- Select Maven from the options on the left.
- Check Create from archetype.
- Select
org.aion4j:avm-archetypefrom the list and click Next. - Enter the GroupID, ArtifactID, and Version for your project. For more information on these values check out the Apache Maven documentation. Click Next when you have finished.
- Click Next.
- Click Finish.
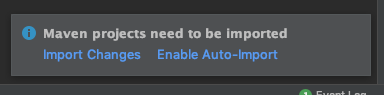
- An Import popup will appear at the bottom right of the screen once everything has loaded. Click Enable Auto-Import.
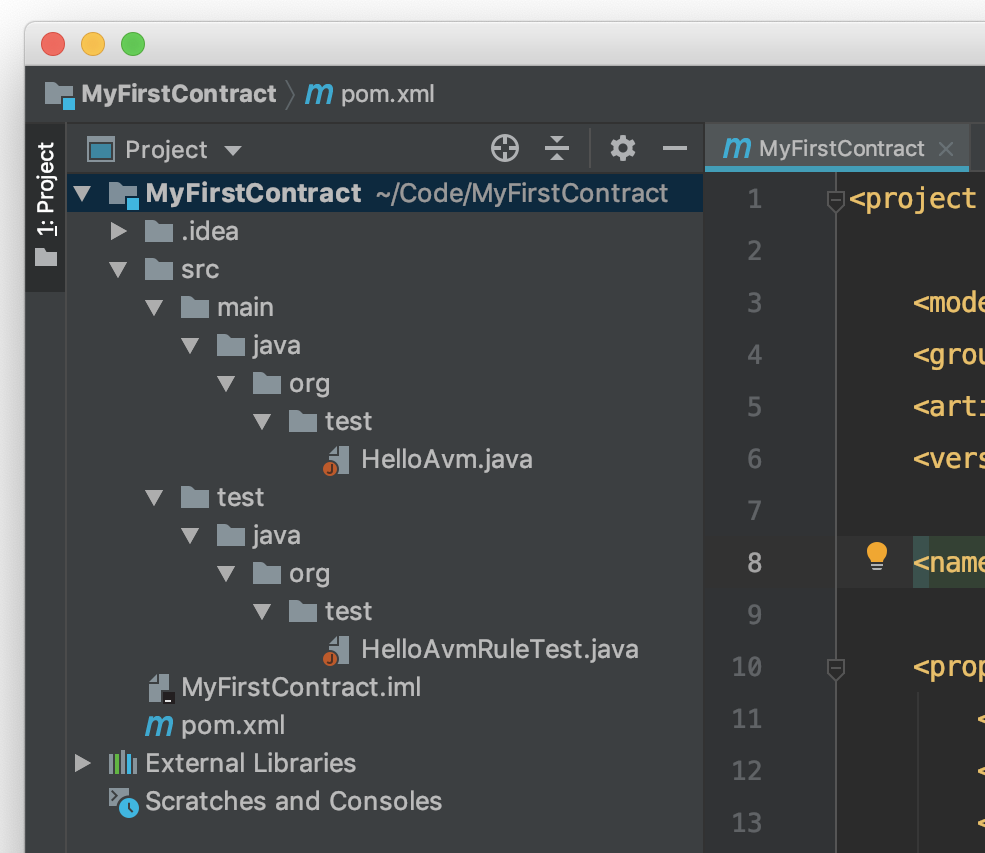
Maven will start building your project. You should be able to see this in the console window within IntelliJ. This process takes a few seconds. Once it’s finished you should be able to see the following hierarchy in the explorer pane.
Initialize Project
Since the plugin is based of the Maven toolset, each project needs to be initialize. In stable builds, the plugin will initialize your project automatically. However if you are using one of the bleeding-edge builds you may have to manually initialize the project.
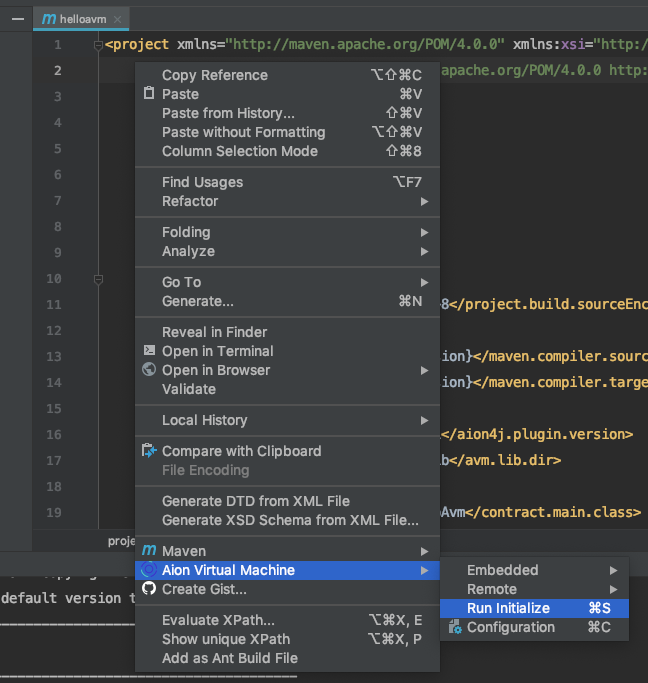
- Open the
pom.xmlfile if it isn’t open already. - Right click anywhere in the file and click Aion Virtual Machine → Run Initialize.
Alternatively, you can run mvn initialize from the built-in terminal in IntelliJ.
Import an AVM project
If you have an existing AVM maven project and you want to import it to IntelliJ IDE, follow the steps below:
- If you are on
Welcome to IntelliJ IDEApage, click Import Project; If you have a project open, Click File -> New -> Project from Existing Sources - Navigate to your AVM project.
- Click OK.
- Choose Import Project from external model and select Maven.
- Click Next and Next and Next.
- Select SDK. make sure its JDK 11^.
- Click Next.
- Enter your project name and location.
- Click Finish.
Ta-da! Your project is successfully imported!