Test and Debug
You can utilize the built in Java testing packages when creating your dApps on the Aion network. They allow you to deploy your Java smart contract and write tests to interact with the contract under a real Aion blockchain environment without actually running an Aion blockchain. In this section, we're going to be walking through the entire workflow of deploying a Java contract to the local kernel, writing some tests, and finally running those tests against your project.
Prerequisites
This guide assumes that you have the IntelliJ IDE installed, along with the Aion4j plugin. You do not need to have an IntelliJ project ready, as we will be creating a new project in this guide.
Set up a Project
We will use IntelliJ to create a new Java dApp project.
Create a project
- With IntelliJ open, go to File → New → Project or click Create New Project from the splash screen.
- Select Maven from the options on the left.
- Check Create from archetype.
- Select
org.aion4j:avm-archetypefrom the list and click Next. - Enter the GroupID and ArtifactID for your project. For more information on these values check out the Apache Maven documentation. For this guide we’re going to enter
aion,example. - Click Next when you have finished.
- Click Next.
- Click Finish.
- An Import popup will appear at the bottom right of the screen once everything has loaded. Click Enable Auto-Import.
Copy the Contract
We’re going to use the contract below to create our tests. The contract assigns the variable owner to the address that deploys the contract. This owner is allowed to transfer the ownership of the contract to another account. Ownership will only be transferred when the assigned new owner accepts the ownership. Once the ownership transfer is completed, an OwnershipTransferred event will be logged along with the old owner address and the new owner address.
- Open the
HelloAvmfile within your project. - Delete the entire contents of the file.
- Copy and paste the contract listed below into the
HelloAvmfile.
5. Save the file.
Write Tests
Now we are ready to test our contract without deploying the contract to the network. First up we need to create our test file.
- Within the
src/test/java/exmaple, open theRuleTestfile. - Delete the contents of the file. You should be left with an empty
HelloAvmRuleTestfile.
Next we need to instantiate the AvmRule class. It creates an in-memory representation of the Aion kernel and AVM. Add the following lines to the top of the HelloAvmRuleTest.
There are two things to point out here:
@Ruleindicates that an embedded AVM will be instantiated for each test method with this file. This means that each individual test will talk to a fresh version of the kernel. If you want all your tests to be run in the same AVM and kernel, change@Ruleto@ClassRule.AvmRuletakes a boolean argument wheretrueenables debug mode, giving you more verbose output from IntelliJ.
Next, we need to create an account for the test to use. The avmRule class comes with a default account and some tokens already in it. Add the following line to the test:
We should also create a contractAddress variable. Add the following line into the test:
We will assign contract in a method with @Before so that it will be run before the @Test method.
Then we will get the bytes that represent the contract jar, along with the deployment arguments in byte[] if required.
Use ABIStreamingEnocder to encode the deployment arguments:
Then, we use avmRule.getDappBytes to get the contract bytes by providing the main class for the contract(contract entry point), deployment arguments, and any other classes that is needed for the contract jar:
After everything is set, we can deploy the contract and get the contract address:
Till now, we have:
Single Method Test
Now we have a contract deployed in the kernel, we can start to interact with it and test if it works. In this example, we will see if the owner is set to the deployer account upon deployment by calling getOwnerAddress.
To do that, we will be using avmRule.call, which takes the caller address, the contract address, any value that is wanted to the contract along with the call, and the transaction data. The transaction data will first include the name of the method we want to call, then the arguments that are required.
Again, we can use ABIStreamingEncoder:
Then, we will make the call and hold the result in an AvmRule.ResultWrapper:
Then we can make sure the transaction call is successful by checking the status in the receipt:
If so, we check the return owner address is the same with the deployer address:
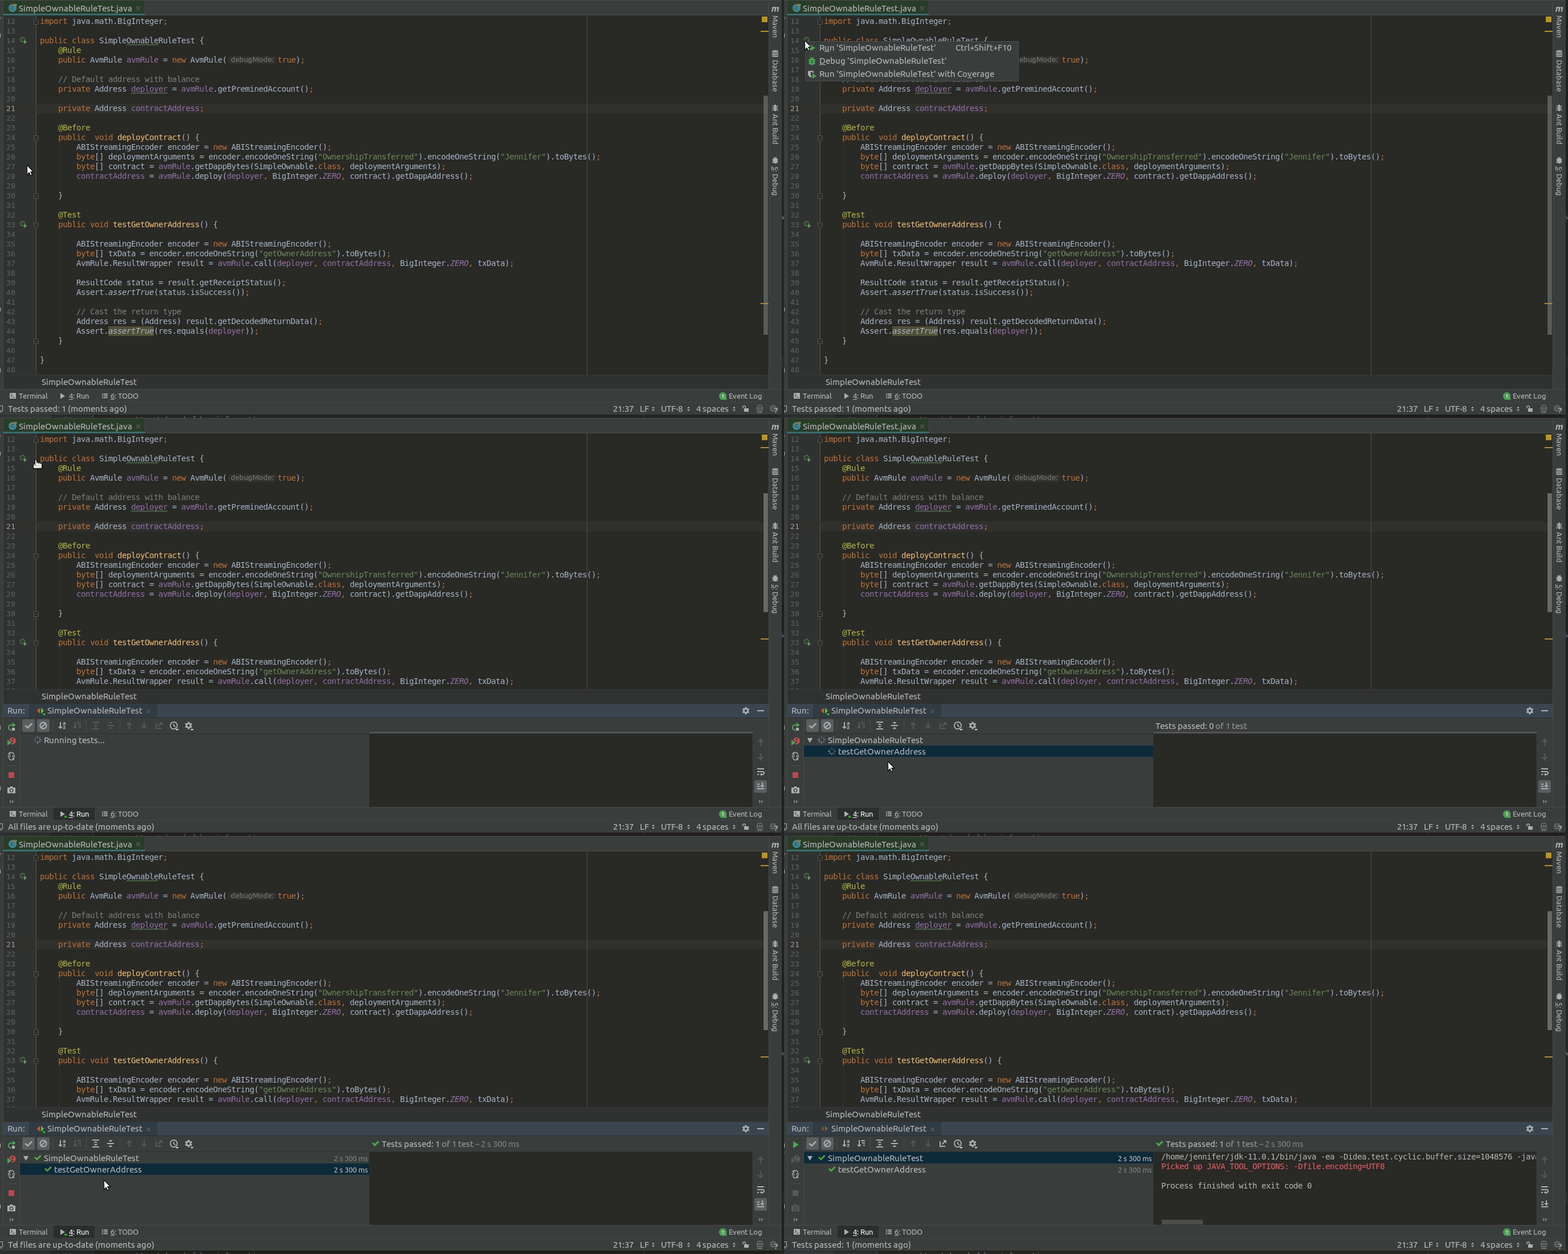
The complete test is:
Then we can run the test:

Great, it passed!
Let’s write another test for transferOwnership, where the method can be only called by the owner, therefore, we need to make sure that anyone that is not an owner, should fail the call.
Again, we need to encode the transaction data, which is the method name and the arguments. This method requires an Address, we can use avmRule.getRandomAddress to get a random address:
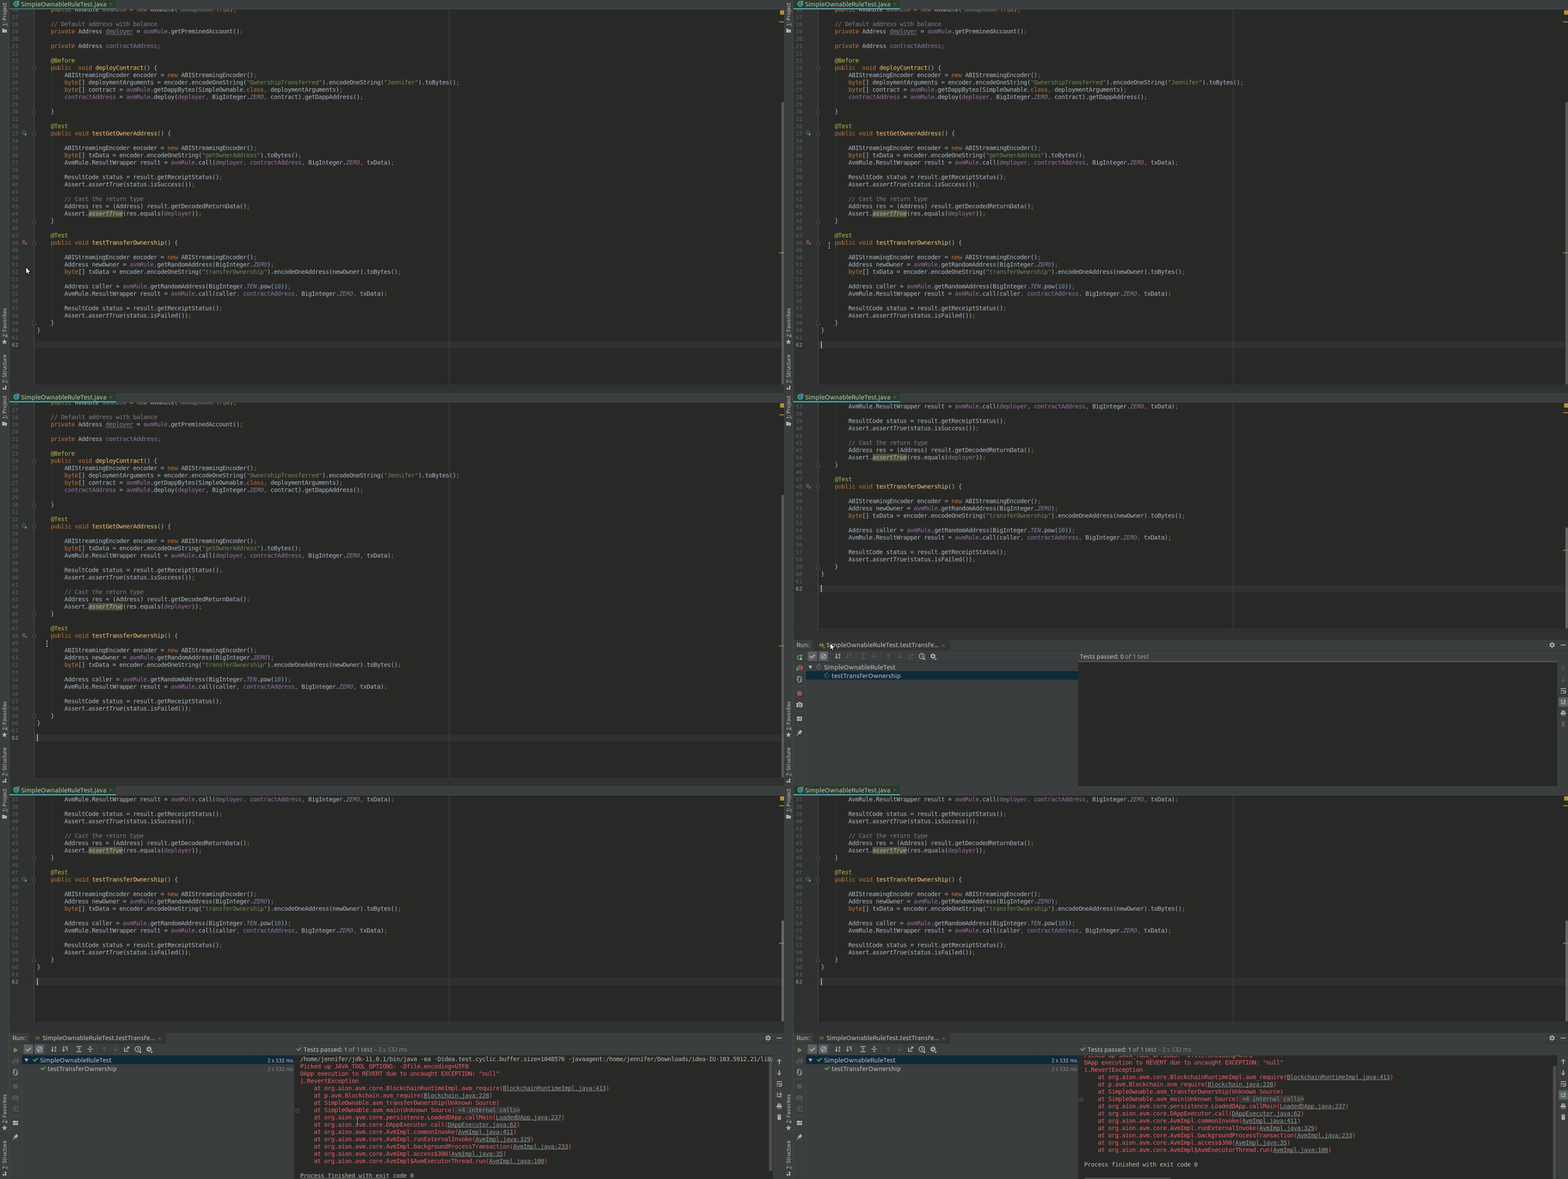
Then, we need a different address with sufficient balance, that is not the deployer(current owner) to make the call, and we are expecting the call to be failed. The complete test is as follows:
Then if we run the test:

The output shows that the test is passed because the call is failed as expected. Since we turned on the debug mode, we can see that the transaction is being reverted due to a revert exception in the AVM caused by avm_require:
Breakpoint and Debug
We can set breakpoints in the contract for debugging purposes, or we can just use it as a pause, and monitor the transaction call execution.
We will use testTransferOwnership as an example. Let’s see if the transaction is actually failed because the caller is not the current owner.
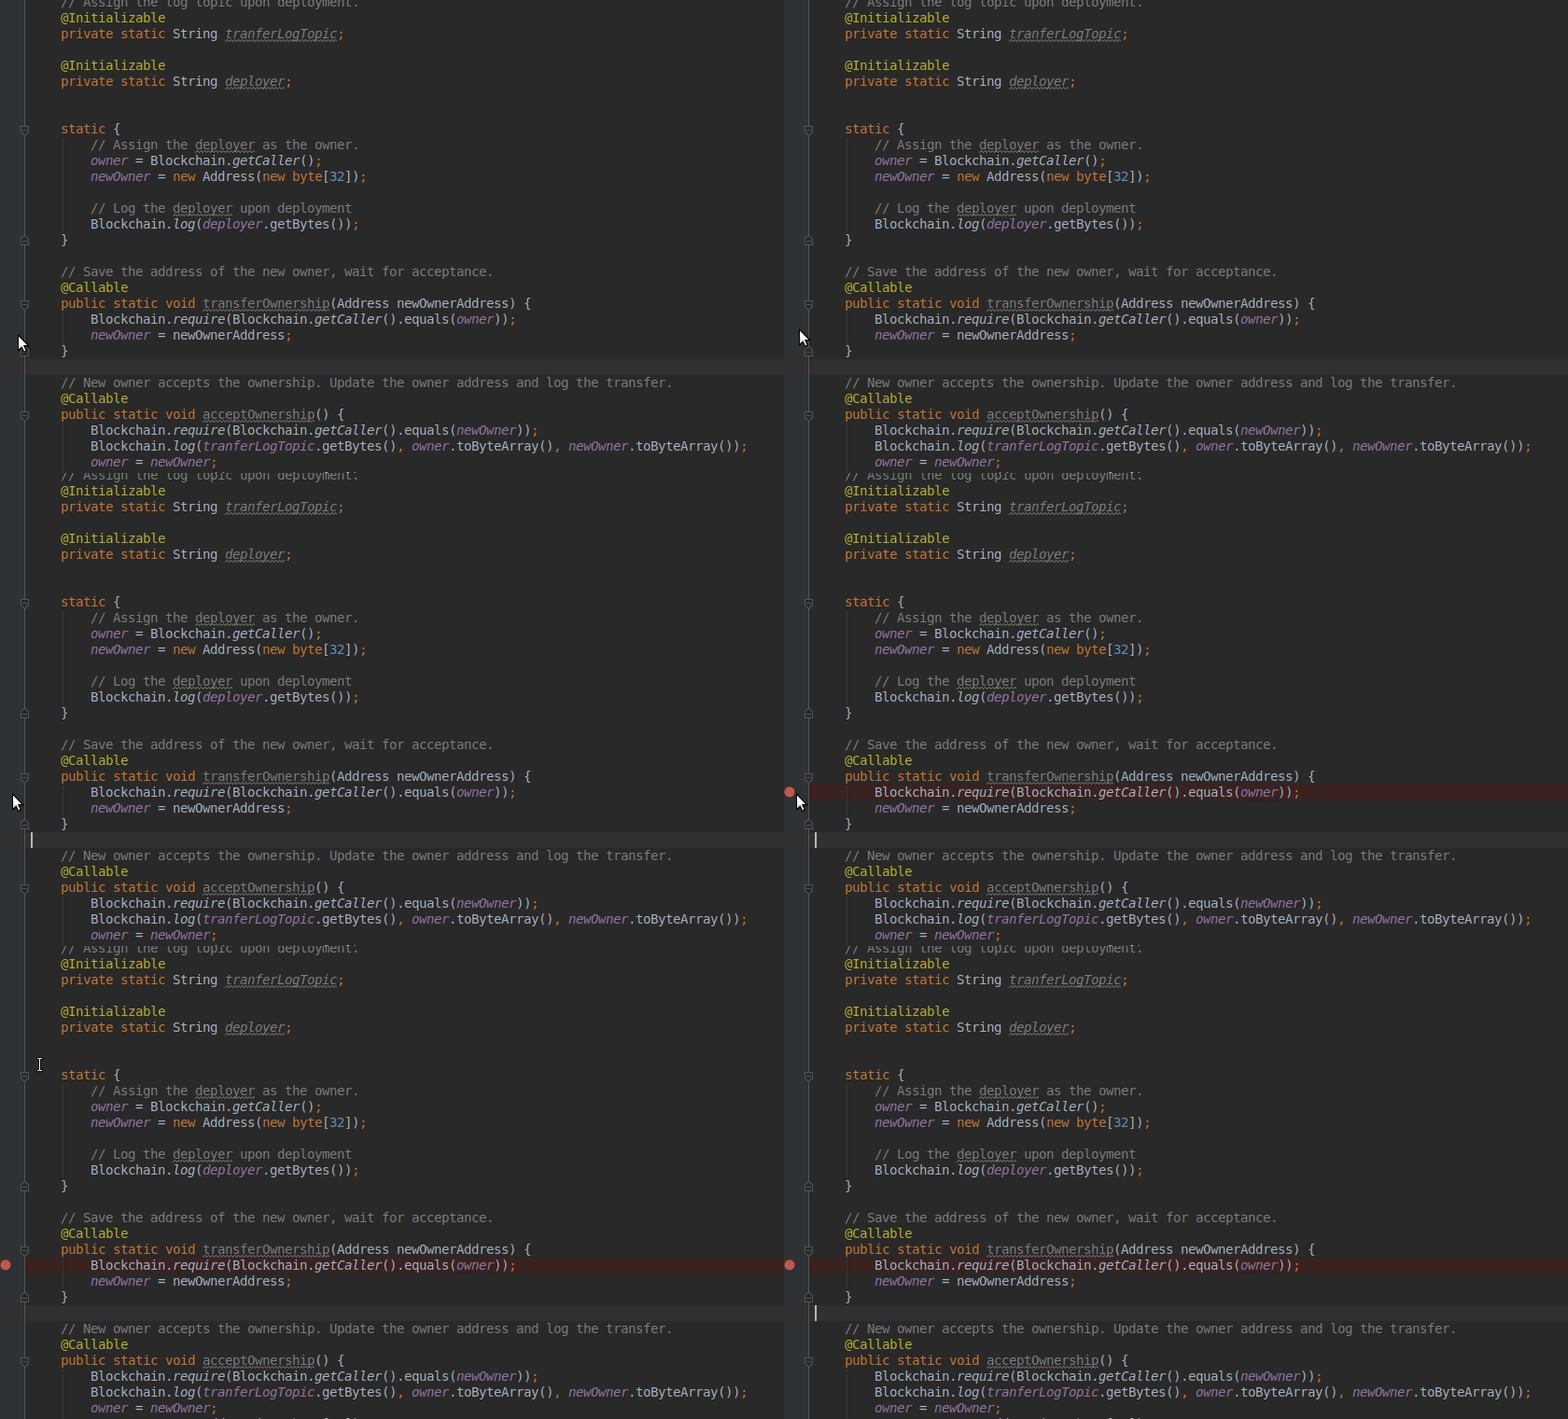
We first need to set the breakpoint in the contract:

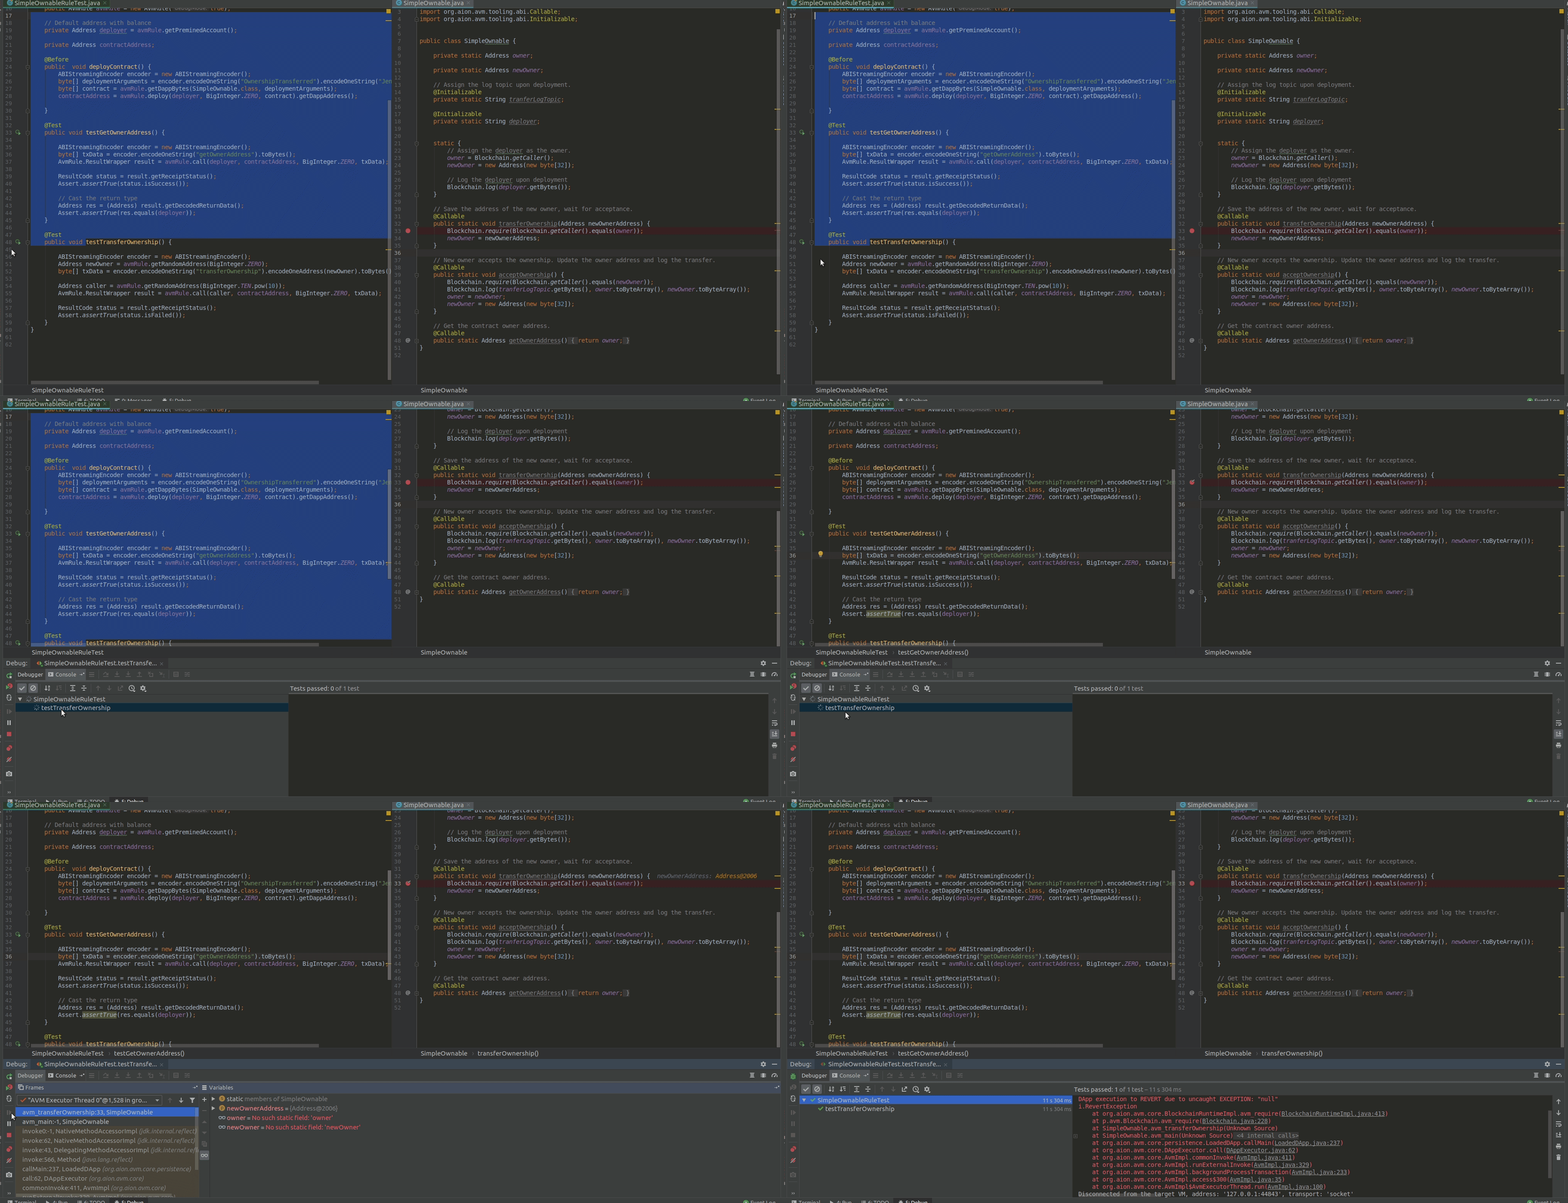
Then, we can debug the testTransferOwnership:

We can see that transferOwnership is being called, and Blockchain.require is being checked and it fails since the caller address does not match the owner address.